Before starting to install WPC flooring, sufficient preparation is the key to ensuring the smooth progress and long-lasting effect of the project. You need to carefully measure the room area to calculate the required number of floors and reserve an additional 5% loss margin. At the same time, please make sure to check whether the ground is flat, dry, and clean. Any obvious unevenness or moisture issues must be dealt with in advance. Finally, please let the WPC flooring stand in the installation environment for 24 to 48 hours to adapt to indoor temperature and humidity. This step can effectively reduce the material’s later expansion and contraction changes.
Preparation work and list of materials and tools before installation
Measure the room size and calculate the required floor area, leaving a 5% -10% loss margin. Leave the WPC flooring in the installation environment for 48 hours to adapt to temperature and humidity. Ensure that the ground is flat, dry, and sturdy, and uneven areas need to be leveled with self leveling cement. Clean the ground thoroughly, removing dust and debris.
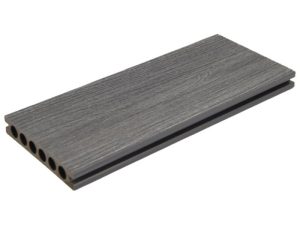
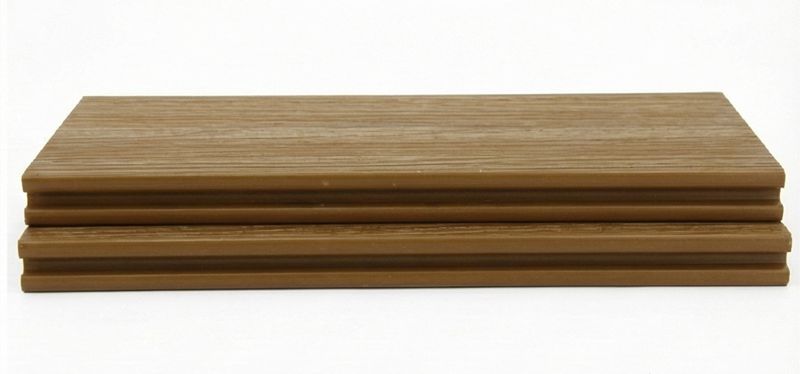
The required materials include: WPC flooring, specialized locking cushion layer, edging strip, and transition pressure strip. Tools to be prepared: rubber hammer, tensioner, hand saw or curve saw, striking block, gap wedge, tape measure, pencil, and American knife. Check if the floor batches are consistent, plan the paving direction in advance, and usually recommend parallel to the main lighting direction.
Detailed explanation of ground treatment and WPC floor paving steps
The ground must be flat, dry, and free of oil stains. Uneven areas should be leveled with self leveling cement and thoroughly cleaned. Lay moisture-proof pads and seal the joints with tape.
Start paving from one corner of the room. Place the first floor tongue towards the wall and reserve an 8-10 mm expansion joint with the wall. Align the second short edge with the first locking buckle and press down to fasten it. Complete the first row in sequence.
The second row floor adopts staggered splicing, and the first piece is cut to make the seam staggered by more than 30 centimeters. Insert the long side diagonally into the front lock buckle, and then press down to fasten it. Repeat this process until the room is fully covered, checking the flatness of every three rows.
Precautions for edge processing and post installation maintenance
When paving to the wall, expansion joints should be reserved and covered with dedicated edge strips or skirting boards. The edge strip should be firmly fixed to ensure a smooth transition with the floor surface. Transition pressure strips are used at the threshold to connect different materials of the ground, and appropriate expansion gaps should be reserved.
After installation, thoroughly clean the surface and avoid using strong acid or alkali cleaning agents. Daily maintenance can be wiped with a slightly damp mop, and it is recommended to lay protective pads when handling heavy objects. In areas with long-term direct sunlight, curtains can be considered to adjust the lighting. In extremely humid environments, indoor ventilation should be maintained. Regularly check the status of the joints and promptly handle any abnormalities found.